
Firstly, the equipment you will need is very basic but make sure you have all the components.
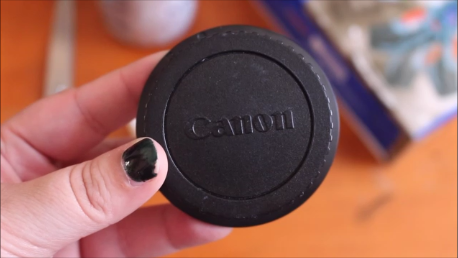
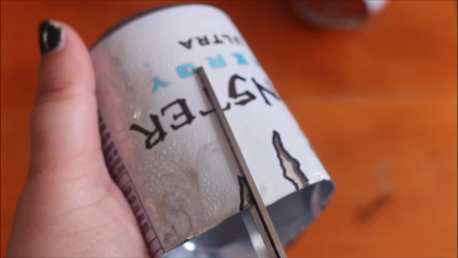
You’ll need a drill with a small drill bit, (such as an Auger drill bit) or an electric screwdriver. You’ll also need a spare camera cap (Not a lens cap), an empty aluminium can, Sellotape or duct tape, scissors and finally, a pin.
- Make a hole in the centre of your lens cap using your drill/electric screwdriver

- Cut a square of your aluminium can big enough to cover the hole
- Sellotape or duct tape the square over the top of the hole you made

- Carefully push the pin through the centre of the square to make your pinhole. Be careful not to make this too big; it really should only be pin sized!

- Remove any lens from your camera and place the new DIY pinhole cap on the front.
- Place your camera on fully Manual, and forget about focusing; it will never be in perfect focus like this!
- Enjoy the new process with your camera!

1 thought on “How to make A DIY Pinhole cap for a DSLR camera”